How to Record two (DUAL) monitors for your component 3 video
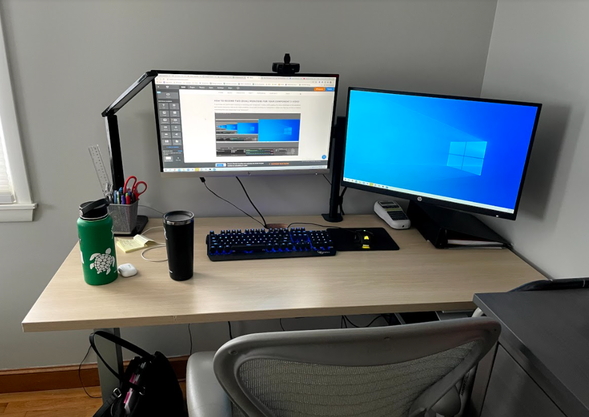
If you're like me, you've been working on recording your Component 3 videos while juggling the many challenges of this pandemic and remote instruction. One of the major problems I faced with recording my Component 3 videos was figuring out how to capture everything that was happening in my "classroom", which was really the work-from-home corner office of my bedroom and the two huge monitors I bought earlier this year.
After doing some research and playing around with settings, I managed to figure out a FREE way of recording both monitors during Zoom or Google Meet online classes. The catch, however, is that the program (OBS) is quite intimidating to use. However, once you get it set up (see instructions or tutorial video below), it'll do everything you need and more!
THE VIDEO TUTORIAL
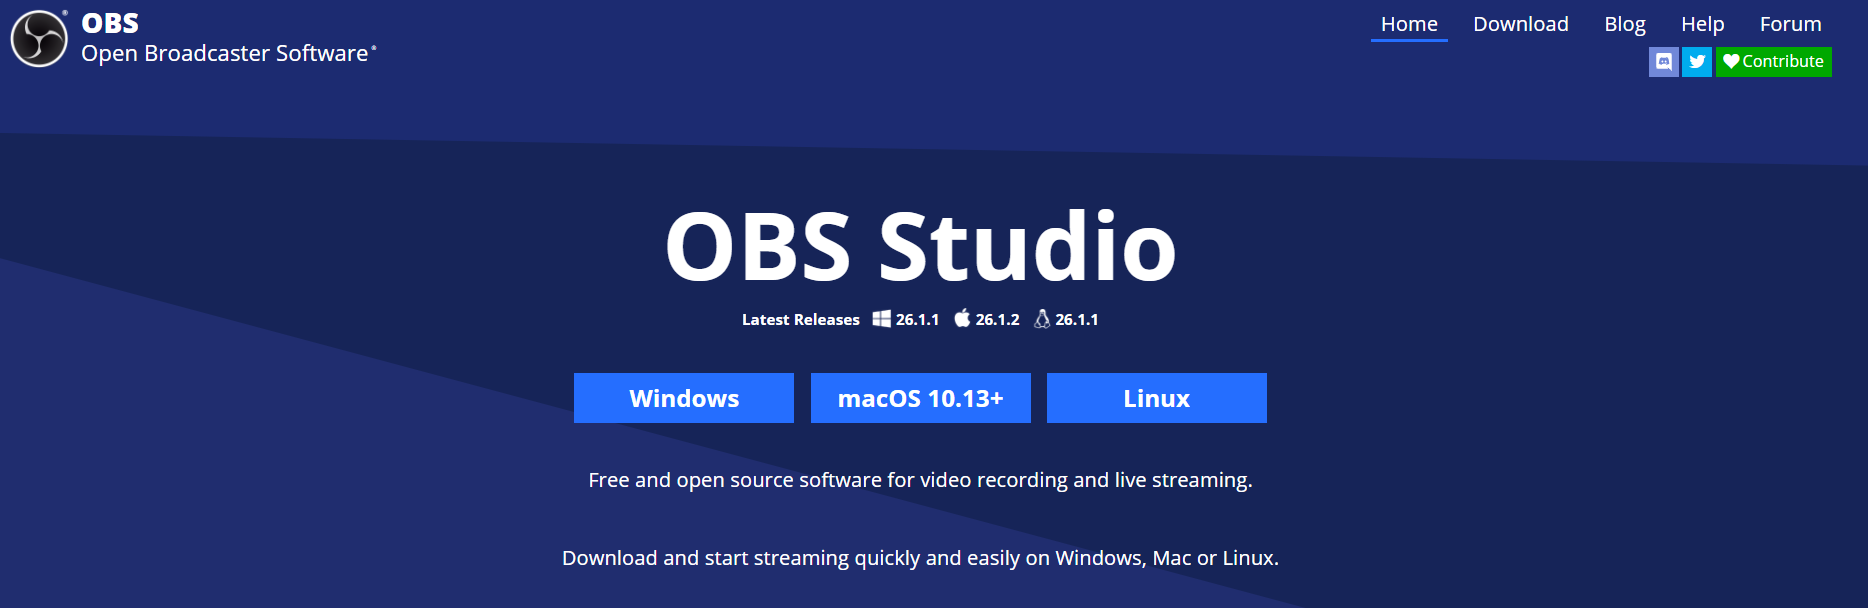
Step 1: DOWNLOAD obs FOR fREE
Using this link, download OBS onto your computer (there's both Windows and Mac operating system options).
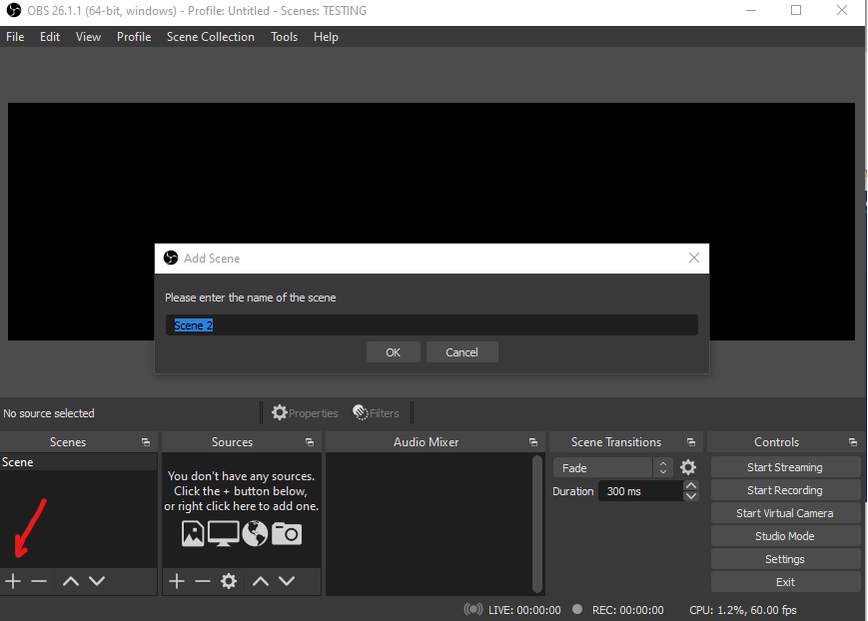
STEP 2: Open OBS and Create a "Scene" called "Desktop Recording - tWO mONITORS"
A "scene" is basically just a way to save your settings and set-up for every time you want to do the same thing, i.e. record your desktop with both monitors shown.
STEP 3: Add your Desktop MonitORS UNDER "sOURCES"
Click the + under "Sources" then "Display Capture"
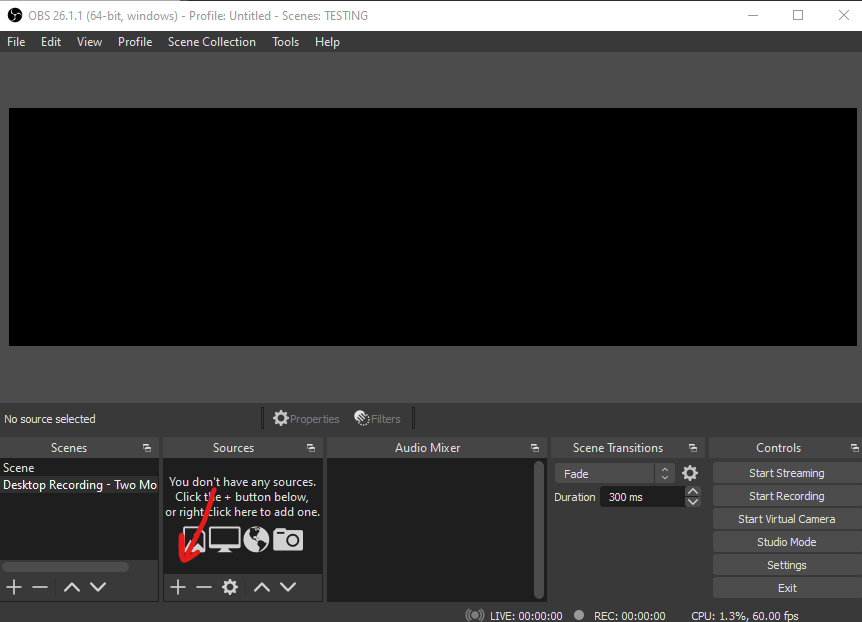
Rename "Display Capture" to something you'll recognize like "Left Monitor". Then, make sure that you have the correct display selected. For example, if you named this monitor "Left Monitor", make sure it's actually showing the left monitor. Then click OK.
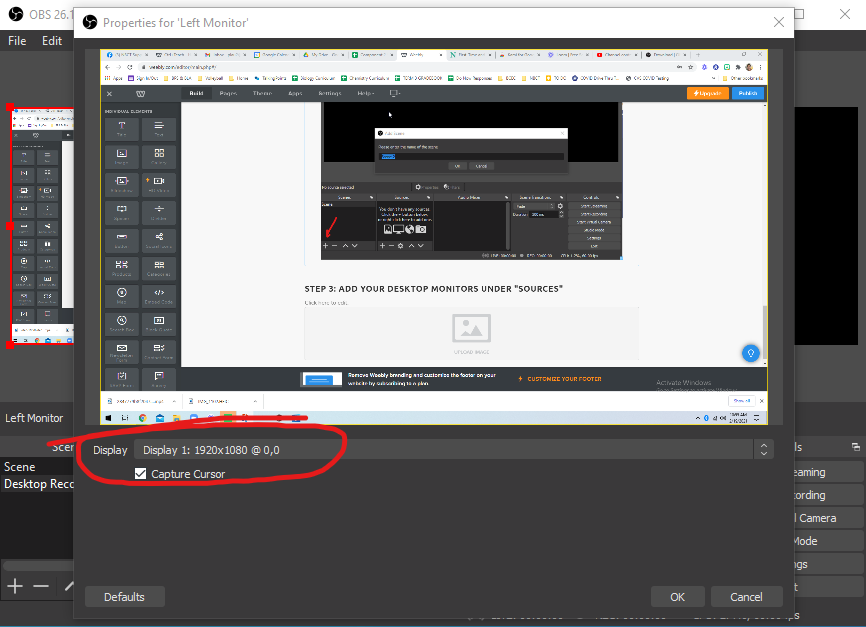
Rinse and repeat to add your second monitor (I named mine "Right Monitor").
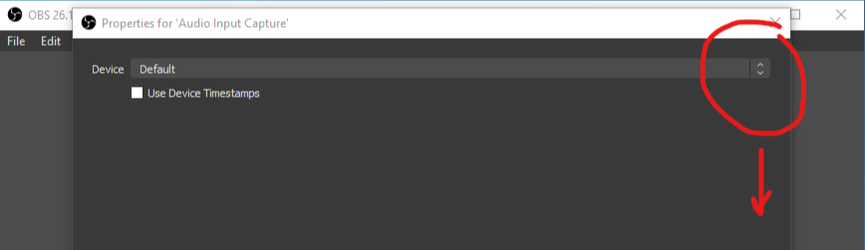
Step 4: Under Sources, Add both your "Audio input capture" and "audio output capture"
"Audio Input Capture" should be the device you're using to speak like a freestanding microphone, a headset with a microphone, your webcam that has a microphone built-in, etc.
"Audio Output Capture" will basically just be your monitor. It's basically capturing the audio coming from your desktop like audio from a video you're watching, audio from your Zoom or Google Meet call, etc.
"Audio Output Capture" will basically just be your monitor. It's basically capturing the audio coming from your desktop like audio from a video you're watching, audio from your Zoom or Google Meet call, etc.
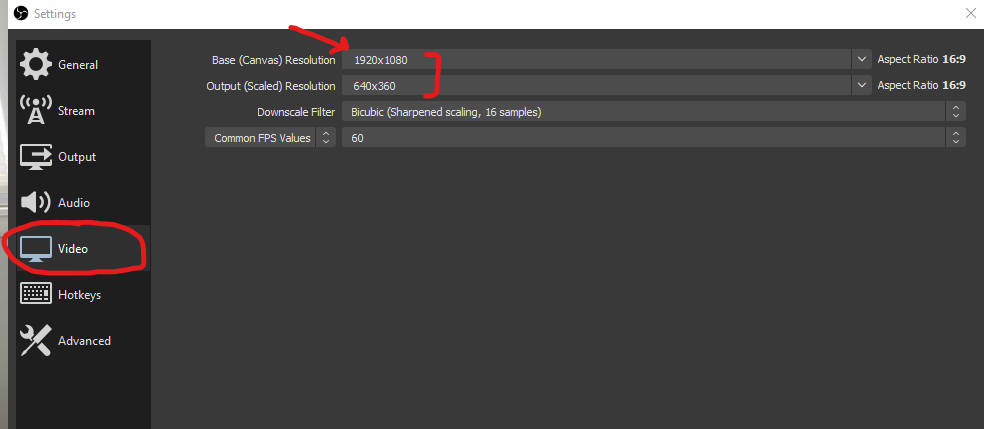
Step 5: Set up the frame to include both monitors
On the right side, you should see "Settings". Click that, then click "Video" on the left side and it'll bring you to a screen like shown below. You'll need to do two things:
1) Change the "Base (Canvas) Resolution" width (first number) to the sum of the widths of both monitors. For example, my left monitor has a width of 1920 and my right monitor has a width of 1920. 1920+1920=3840. I need to change the left number shown here to 3840 so it should now read "3840x1080".
2) Copy and paste the "Base (Canvas) Resolution" numbers below to the "Output (Scaled) Resolution" so that they are now the same. Then click "Apply" then "OK".
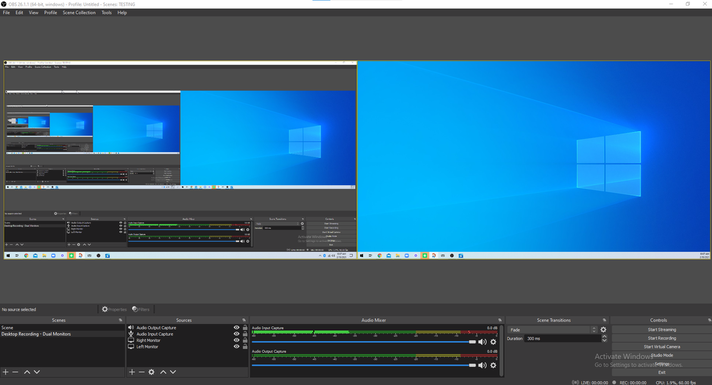
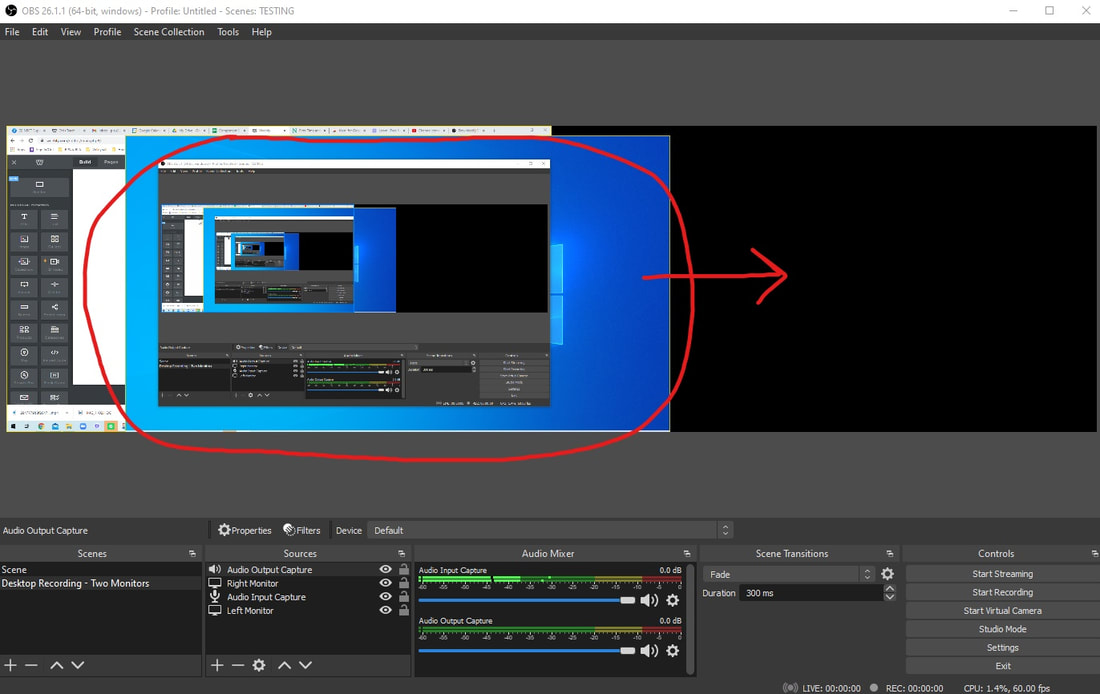
Step 6: Make sure your frame is correct and move the monitors to where they should be
You should see that the recording frame is now extra wide. Your monitors may not be showing in the correct spot though. You can click the monitor so that it shows a red outline, then drag it to where you want it to be.
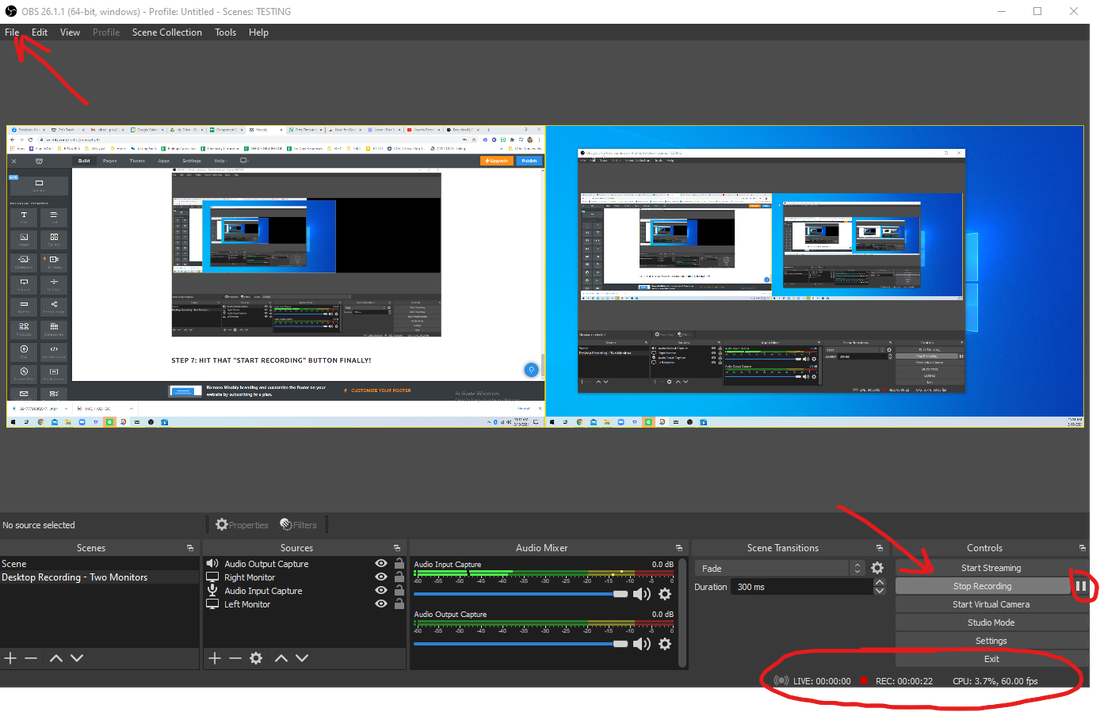
Step 7: Hit that "Start Recording" button finally!
On the bottom right of the screen, you can click "Start Recording" and then minimize the OBS window while you're teaching. You can also click the Pause symbol (though this may not be an allowable thing to do for National Board) and/or the "Stop Recording" button when you're done.
To find your recording when you're done, click "File" on the upper left side of the screen. Then click "Show Recordings". That's it folks! Any time you open OBS now and click the scene "Desktop Recording - Two Monitors" (or whatever you named it), it'll be already be set up and ready for you to start recording!
To find your recording when you're done, click "File" on the upper left side of the screen. Then click "Show Recordings". That's it folks! Any time you open OBS now and click the scene "Desktop Recording - Two Monitors" (or whatever you named it), it'll be already be set up and ready for you to start recording!
***Word of warning, defintely have this set up ahead of time and practice recording a few classes before you think you've found "the one". It's defintely better to have lots of options to choose from and to do everything you can to make sure your chosen recording goes smoothly!
